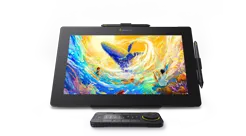
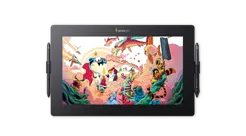
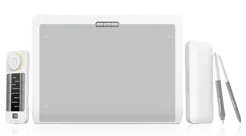
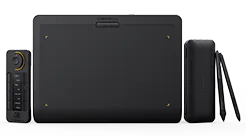
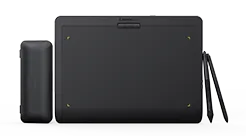
When using a Xencelabs drawing tablet to create digital illustrations, it can be helpful to enable pressure sensitivity. This feature lets you control the stroke weight of the digital brush by applying varying amounts of pressure on your tablet, creating a more natural look when drawing using Adobe Illustrator.
Read this tutorial you will learn how to enable this feature in Adobe Illustrator and control pressure in the Xencelabs Driver Panel quickly.
There are several different types of Brushes within Adobe Illustrator. In this tutorial, we will show you each of them.
Setting Brush Pressure for Calligraphic Brushes
Open Adobe Illustrator, and then go to Window > Brushes to open the panel with the default brushes. The brush panel can be viewed in Icon or List mode. This can be changed in the Options panel. Then take the Paintbrush Tool (B) and select the first brush from the list - a Calligraphic Brush.
If you draw a line with it, you'll notice it doesn't matter whether you use a digital tablet pen or a mouse, the line looks exactly the same.
To set the pressure sensitivity for this brush, double-click its icon on the list.
Calligraphic Brushes have three settings: Angle, Roundness, and Size. All of these can have pressure linked to your Xencelabs pen. Set "Size" to Pressure, and increase the "Variation" to enable Pressure for this brush.
Calligraphic Brushes have three settings: Angle, Roundness, and Size. All of these can have pressure linked to your Xencelabs drawing pen. Set "Size" to Pressure, and increase the "Variation" to enable Pressure for this brush.
Drawing another line and pressing down lightly at the beginning and strongly at the end will show you a different style of line.
How to Set the Brush Pressure for Art Brushes
Select the brush in the third row "Charcoal - Feather".
If you draw a line, you will notice it actually has a tapered end, but only because it is part of the shape of the brush, it is not actually linked to the pressure of your pen.
To set the pressure sensitivity for this brush, double-click it to open its settings. Change the Width setting to Pressure. Then drag the markers on the left and right, and you can set the Minimum width (low pressure) and the Maximum width (high pressure).
Now draw another line - starting with light pressure and ending with strong pressure on the Tablet surface.
How to Set the Brush Pressure for Bristle Brushes
A good example of a Bristle Brush is the "Mop" brush.
In the settings, you will notice there are no options for Pen Pressure. This is because Bristle Brushes are pressure-sensitive by default.
How to Set the Brush Pressure for Pattern Brushes
Select a pattern brush in the brush panel.
Change the "Scale" to "Pressure" and adjust the minimum and maximum settings to create a range.
Now test the new brush settings with your Xencelabs Pen
Now test the new brush settings with your Xencelabs tablet Pen
You can control the Pen Pressure within the Xencelabs Driver Panel by adjusting it to suit your needs.
Open the Xencelabs Driver Panel. Select one of the Two Pens to customize.
In this example, we have selected the 3-Button Pen.
To adjust the pressure of the Pen when using Adobe Illustrator it must be selected from the Applications at the top. The Yellow bar below the icon indicates which application is selected. If Adobe Illustrator is not listed here you will need to Add it to the menu by pressing the + to select and add it or load it in.
Selecting the "Advanced Settings" button will allow to control the amount of pressure that is comfortable for you when using Adobe Illustrator. This can be different when using other applications.


