Welcome to the Xencelabs website
Select country or region to browse the content that applies to your location.


recommend
- Pen Display 24
- Pen Tablet Medium
Welcome to the Xencelabs website
Select country or region to browse the content that applies to your location.
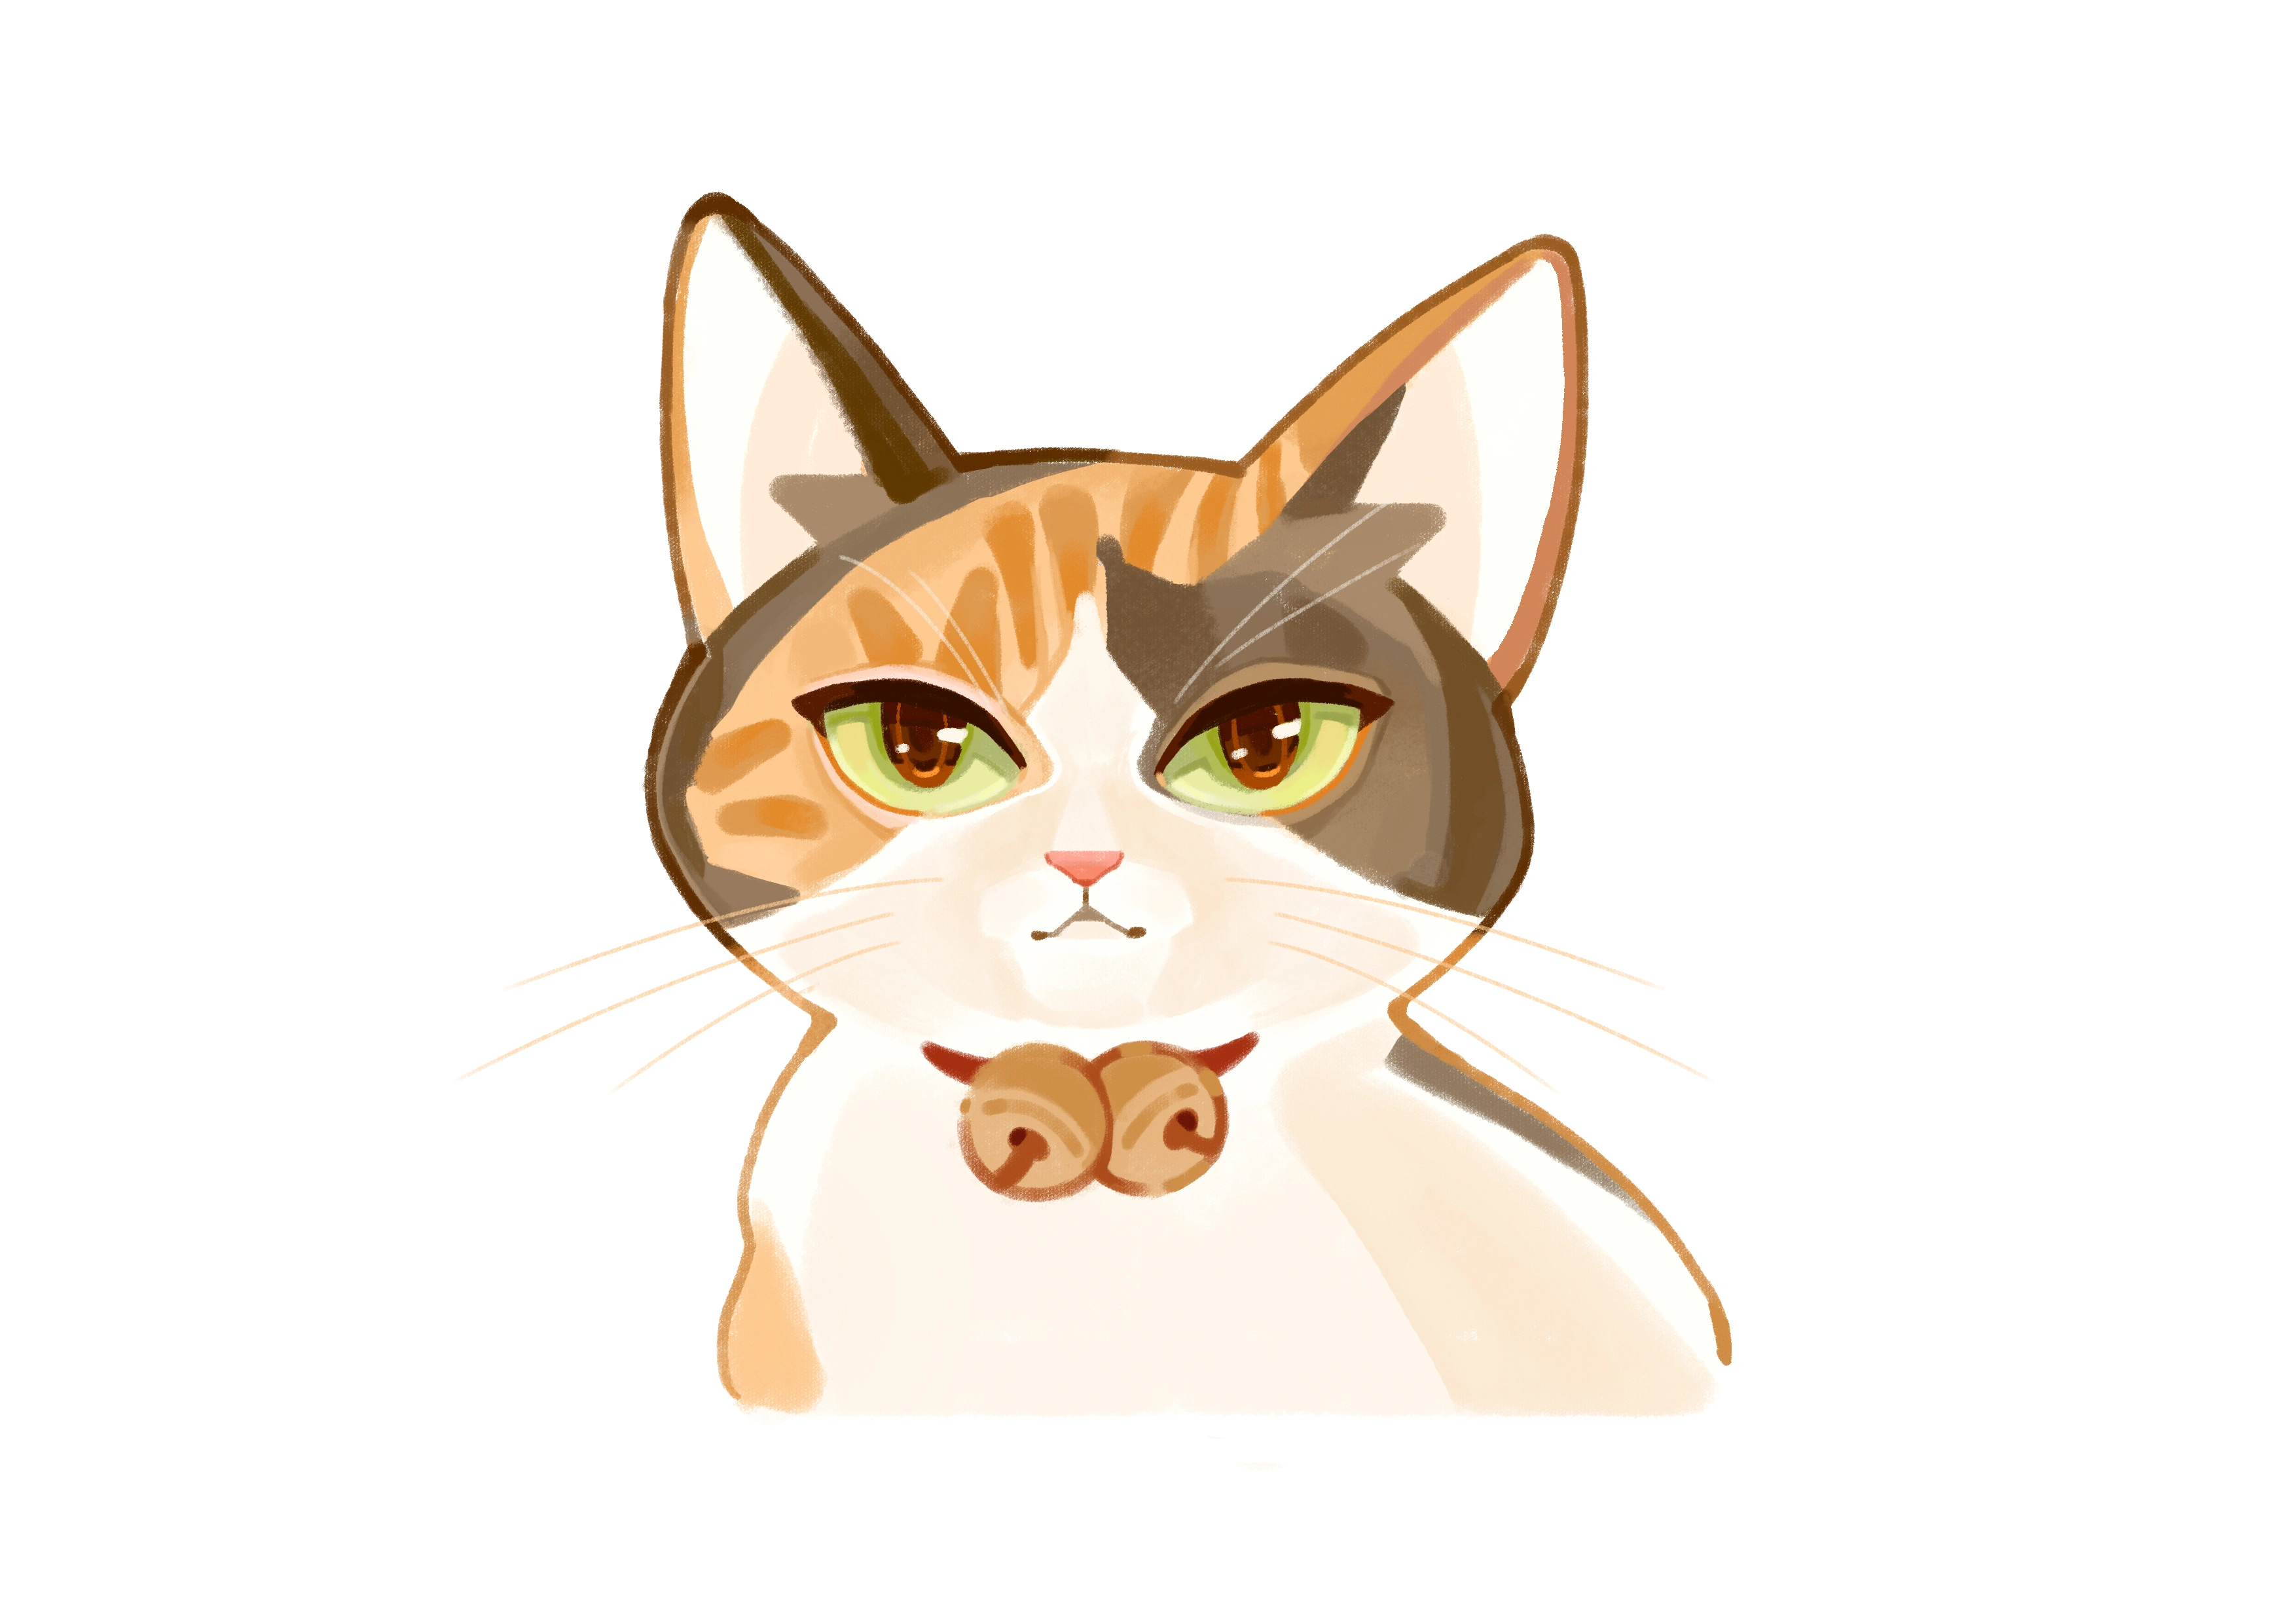
Whether you're scrolling through social media or browsing art websites, there's one subject that never seems to go out of style: cats!
From simple doodles to detailed portraits, cat faces capture our imagination and make for perfect drawing subjects. But getting those distinctive feline features just right can be tricky, even for experienced artists.
Don't worry though – with the right approach and tools, anyone can learn how to draw a cat face that captures all that personality and charm our feline friends are known for.
Let's walk through everything you need to know about drawing cat faces, from traditional pencil sketches to digital art using modern drawing tablets. Whether you're a complete beginner or looking to refine your technique, we've got you covered!
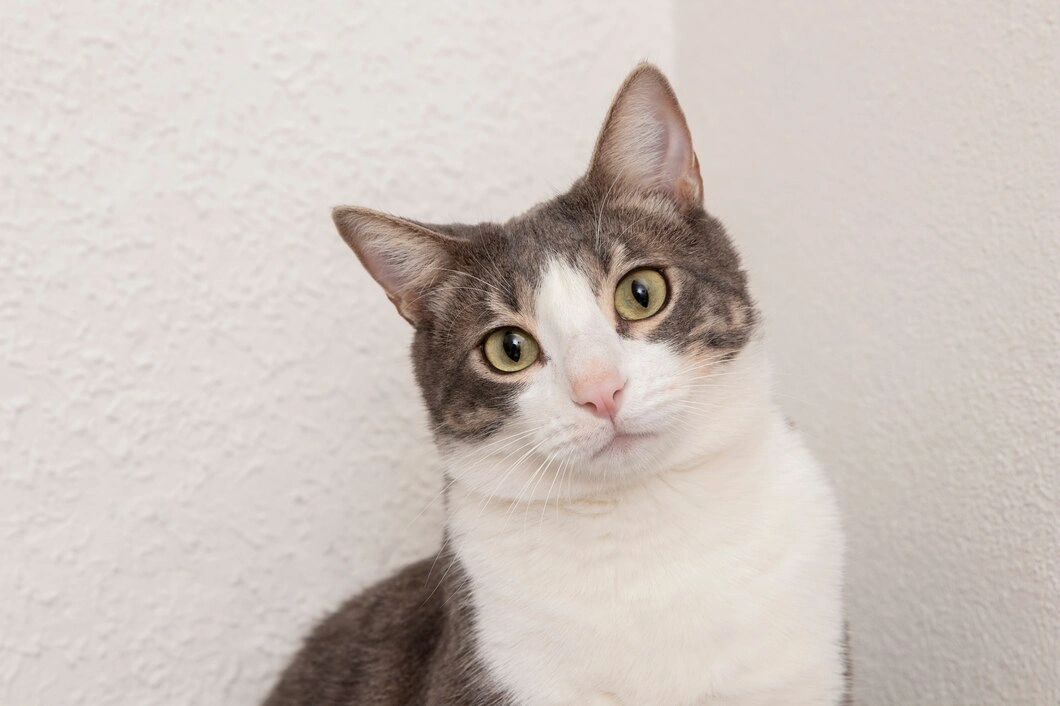
Before you put pencil to paper (or stylus to tablet), let's take a moment to understand what makes a cat's face so unique. After all, the secret to drawing any subject well is understanding its basic structure and distinctive features.
The cat's ear, for instance, has distinct shapes compared to dog ears, which is crucial for accurate depiction. Paying attention to the cat's facial features – such as the various shapes and patterns – can help enhance the lifelike quality of your drawing and show a variety of fun emotions!
The Basic Structure
Cat faces are fascinating because they follow a surprisingly simple geometric pattern. At its core, a cat's face is a combination of circles and triangles:
● The main part of the face forms a broad oval shape
● The muzzle creates a smaller circular shape
● The ears form triangular points at the top
● The eyes are large, almond-shaped ovals
This geometric foundation is what gives cats their instantly recognizable silhouette. Understanding these basic shapes will help you nail the proportions every time – whether you're drawing a fierce tiger or a cute house cat!
Distinctive Features to Master
What truly brings a cat face to life are its unique features: the expressive eyes, the delicate nose, and the intricate details of the cat's fur.
Achieving realistic textures and transitions in the cat's fur involves varying stroke lengths and densities, and using different pencil types and techniques. But that's not all – knowing the right techniques for shading and toning the fur are crucial — as they help capture the natural appearance and depth of the cat's face.
The Cat's Eyes
● Cats have distinctively large eyes that can take up to a third of their face
● The pupils can range from narrow slits to full circles
● Look for the subtle fold above each eye
● Notice how the corners of the eyes point slightly upward
● The surrounding fur often creates natural "eye liner" patterns
The Cat's Face & Nose
● Cat noses are small and triangular
● They typically form an inverted 'Y' shape where they meet the mouth
● The nose leather (the actual nose surface) has a distinctive texture
● Each cat has unique patterns in their nose leather – like a fingerprint!
The Cat's Head & Whiskers
● Cats have 12 whiskers on each side of their face
● Whiskers emerge from specific points called whisker pads
● They're not just random hairs – they follow a symmetrical pattern
● Whiskers can express emotion through their positioning
Unique Cat Fur Patterns
● Even solid-colored cats have subtle variations in their fur
● Pay attention to how fur flows around features
● Notice how fur creates natural shadows and highlights
● Different breeds have distinctive fur patterns and textures
● Toning and shading the cat's fur is crucial to achieve realistic textures. Use different pencil types and techniques to vary stroke lengths and densities, capturing the natural appearance of fur
The magic of drawing cats lies in how these features come together to create expression and personality. A slight tilt of the eyes or curve of the whiskers can completely change the mood of your drawing. That's what makes cats such fascinating subjects – each face tells its own story!
When you're just starting out, try observing cats in your daily life. Notice how their features change as they move and express different emotions. Take photos or quick sketches to capture these moments – they'll be invaluable references as you develop your cat-drawing skills.
Having the right tools can make a significant difference in your cat drawing adventures. Let's explore traditional and digital options, focusing on how modern drawing tablets can enhance your creative process.
Traditional Drawing Materials
While basic supplies can get you started, having the right traditional tools helps create cleaner, more precise lines for those important feline features:
● Pencils: Start with an HB pencil for initial shapes, then use softer B-grade pencils (2B-6B) for shading and darker details
● Erasers: Keep both a standard eraser and a kneaded eraser handy – the latter is perfect for lifting graphite to create whisker highlights
● Paper: Choose smooth, medium-weight paper that can handle multiple erasures and layered shading
● Optional Tools:
○ Fine-liner pens for whisker details
○ Colored pencils or markers for adding color
○ Blending stumps for smooth shading
Digital Drawing Solutions
Here's where your cat drawings can really come to life with the precision and versatility of modern drawing tablets. Xencelabs offers several professional-grade options that are perfect for both beginners and experienced artists:
If you're serious about your digital art, the Pen Display 24 offers:
● A spacious 23.8-inch 4K UHD display – perfect for seeing every whisker detail
● 99% Adobe RGB color accuracy for realistic fur tones
● Super-AG Etching™ surface that feels natural, like drawing on paper
● Dual pen system with different sizes for various drawing techniques
For artists who need portability without sacrificing quality:
● 15.6-inch 4K display – ideal for drawing on the go
● Exceptional color accuracy for precise detail work
● Slim 12mm profile that's easy to pack and carry
● USB-C connectivity for simple setup
A fantastic starting point for digital art:
● Large drawing area with a natural feel
● 8192 levels of pressure sensitivity for perfect fur textures
● Battery-free pens that never need charging
● Customizable express keys for your favorite tools
Whatever you choose – traditional, digital, or a combination of both – the right tools will help you create more confident, precise cat drawings. The pressure sensitivity and natural feel of Xencelabs tablets make them particularly well-suited for capturing those delicate feline features, from whisker details to subtle fur textures.
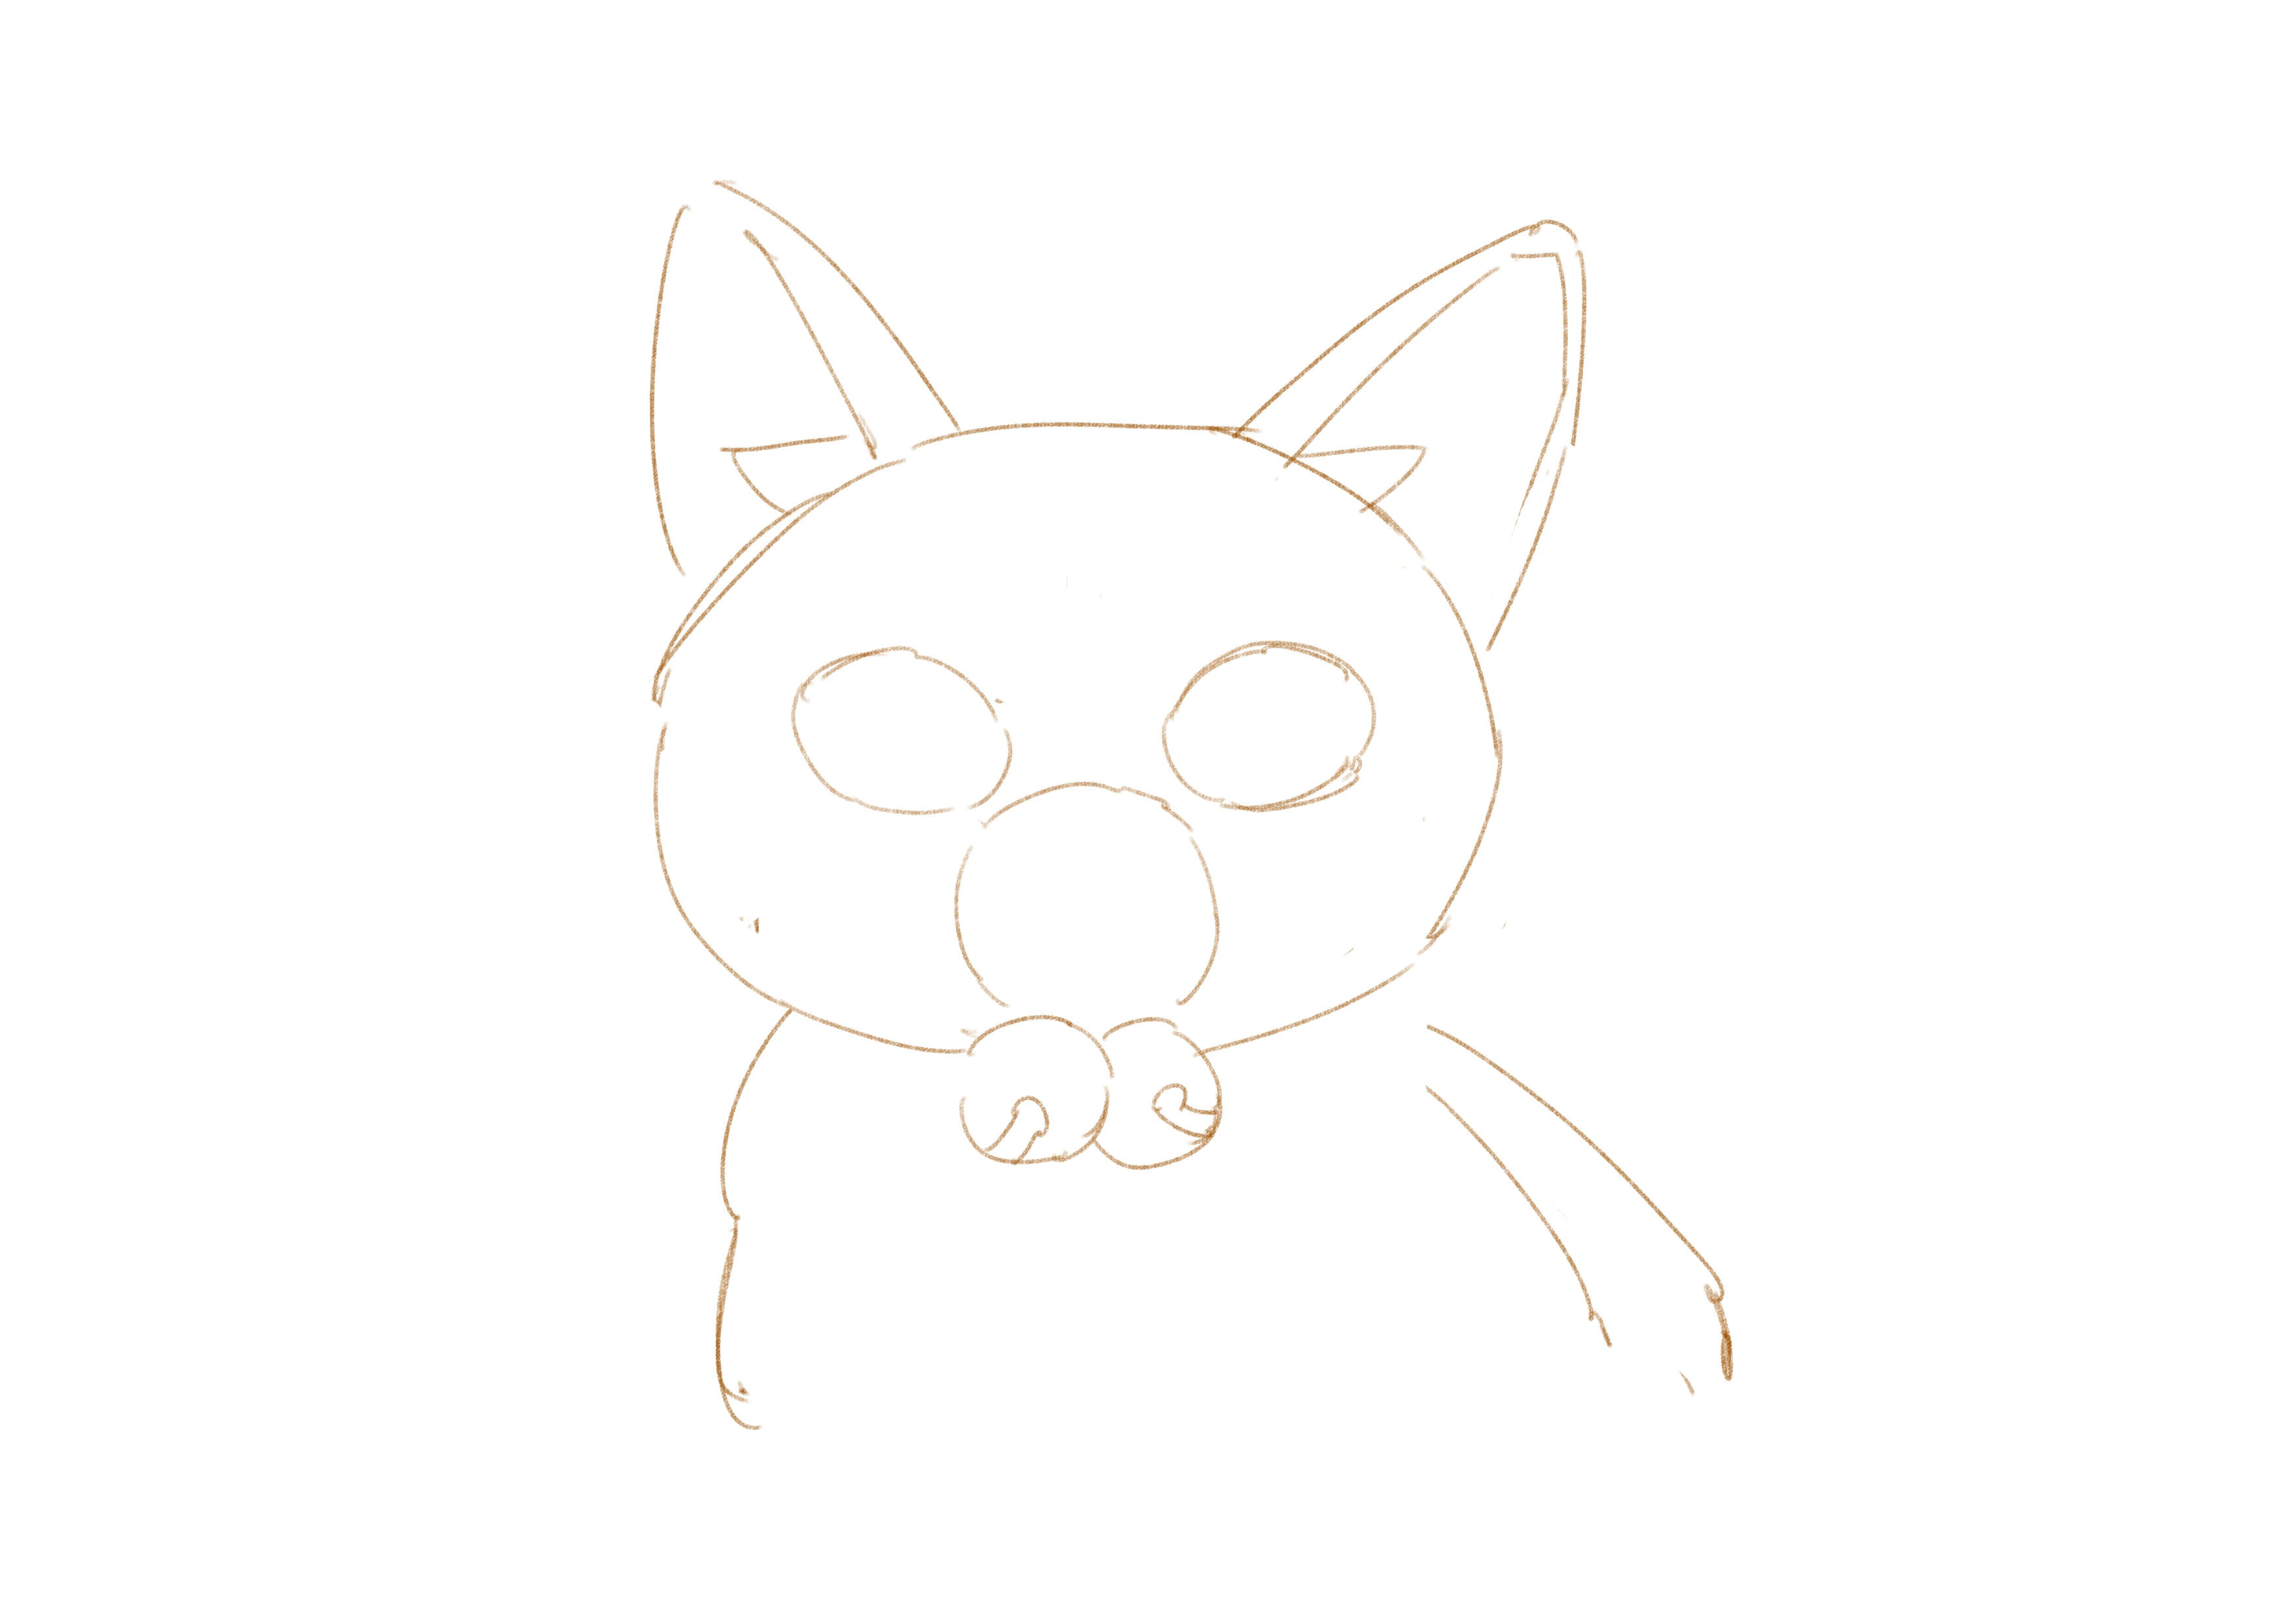
Starting with Basic Shapes
The foundation of any good cat drawing begins with simple geometric shapes. This crucial first step helps you establish proper proportions and structure before adding any details.
Think of it like building a house – you need a solid framework before adding all the finishing touches that make it unique.
1. Draw a large circle for the main part of the head
2. Add a smaller circle below it, overlapping slightly, for the muzzle area
3. Place two triangular shapes at the top of the main circle for ear placement
4. Draw two smaller circles within the face area to mark eye positions
5. Add light guidelines to divide the face into sections for proper feature placement
Pro Tip: Keep your initial shapes light and loose. You'll be erasing parts of them later, so don't press too hard with your pencil. If you're working digitally with a Xencelabs tablet, use a separate layer for your basic shapes – you can easily adjust the opacity or hide them later!
Adding Core Features
This is where your cat drawing starts to come alive. The eyes, nose, and mouth are what give cats their distinctive expressions and personality.
Take your time with these features – they're the focal points that viewers will notice first.
1. Eyes
○ Draw almond shapes following your guide circles
○ Add curved lines above the eyes for brow ridges
○ Create pupils (remember, cat pupils can be either slits or circles)
○ Add tiny light reflections to bring the eyes to life
2. Nose
○ Draw a small triangle where your guidelines intersect
○ Add the inverted 'Y' shape below the nose
○ Curve the edges slightly for a natural look
3. Mouth
○ Create a gentle curve below the nose
○ Add small lines at the corners for a natural mouth shape
○ Keep it subtle – cat mouths are usually quite understated
Pro Tip: Study reference photos of real cats to understand how these features work together. Different emotions will change how these features look – a happy cat's eyes will be different from a sleepy one's!
Defining Details
Now we're getting into what makes your cat drawing unique. The whiskers, ears, and fur texture add character and bring your drawing to life.
Techniques for drawing fur, such as outlining and shading, give your cat a bit more character — and can help distinguish between different cat breeds and personalities.
1. Whiskers
○ Mark the whisker pad areas on either side of the nose
○ Draw whiskers in groups, curving them naturally
○ Vary the lengths and curves for realism
○ Don't forget the smaller whiskers above the eyes
2. Ears
○ Refine your initial triangular shapes
○ Add inner ear details
○ Draw fur tufts if your cat breed has them
3. Fur Texture
○ Start with the main fur direction around the face
○ Add shorter strokes for the inner face area
○ Create texture around the edges of the face
○ Layer your strokes for depth
Pro Tip: When drawing whiskers, remember they're not just straight lines. They have a natural curve and sometimes even a slight wave. Using a Xencelabs pen tablet's pressure sensitivity can help you create varying line weights for more realistic whiskers.
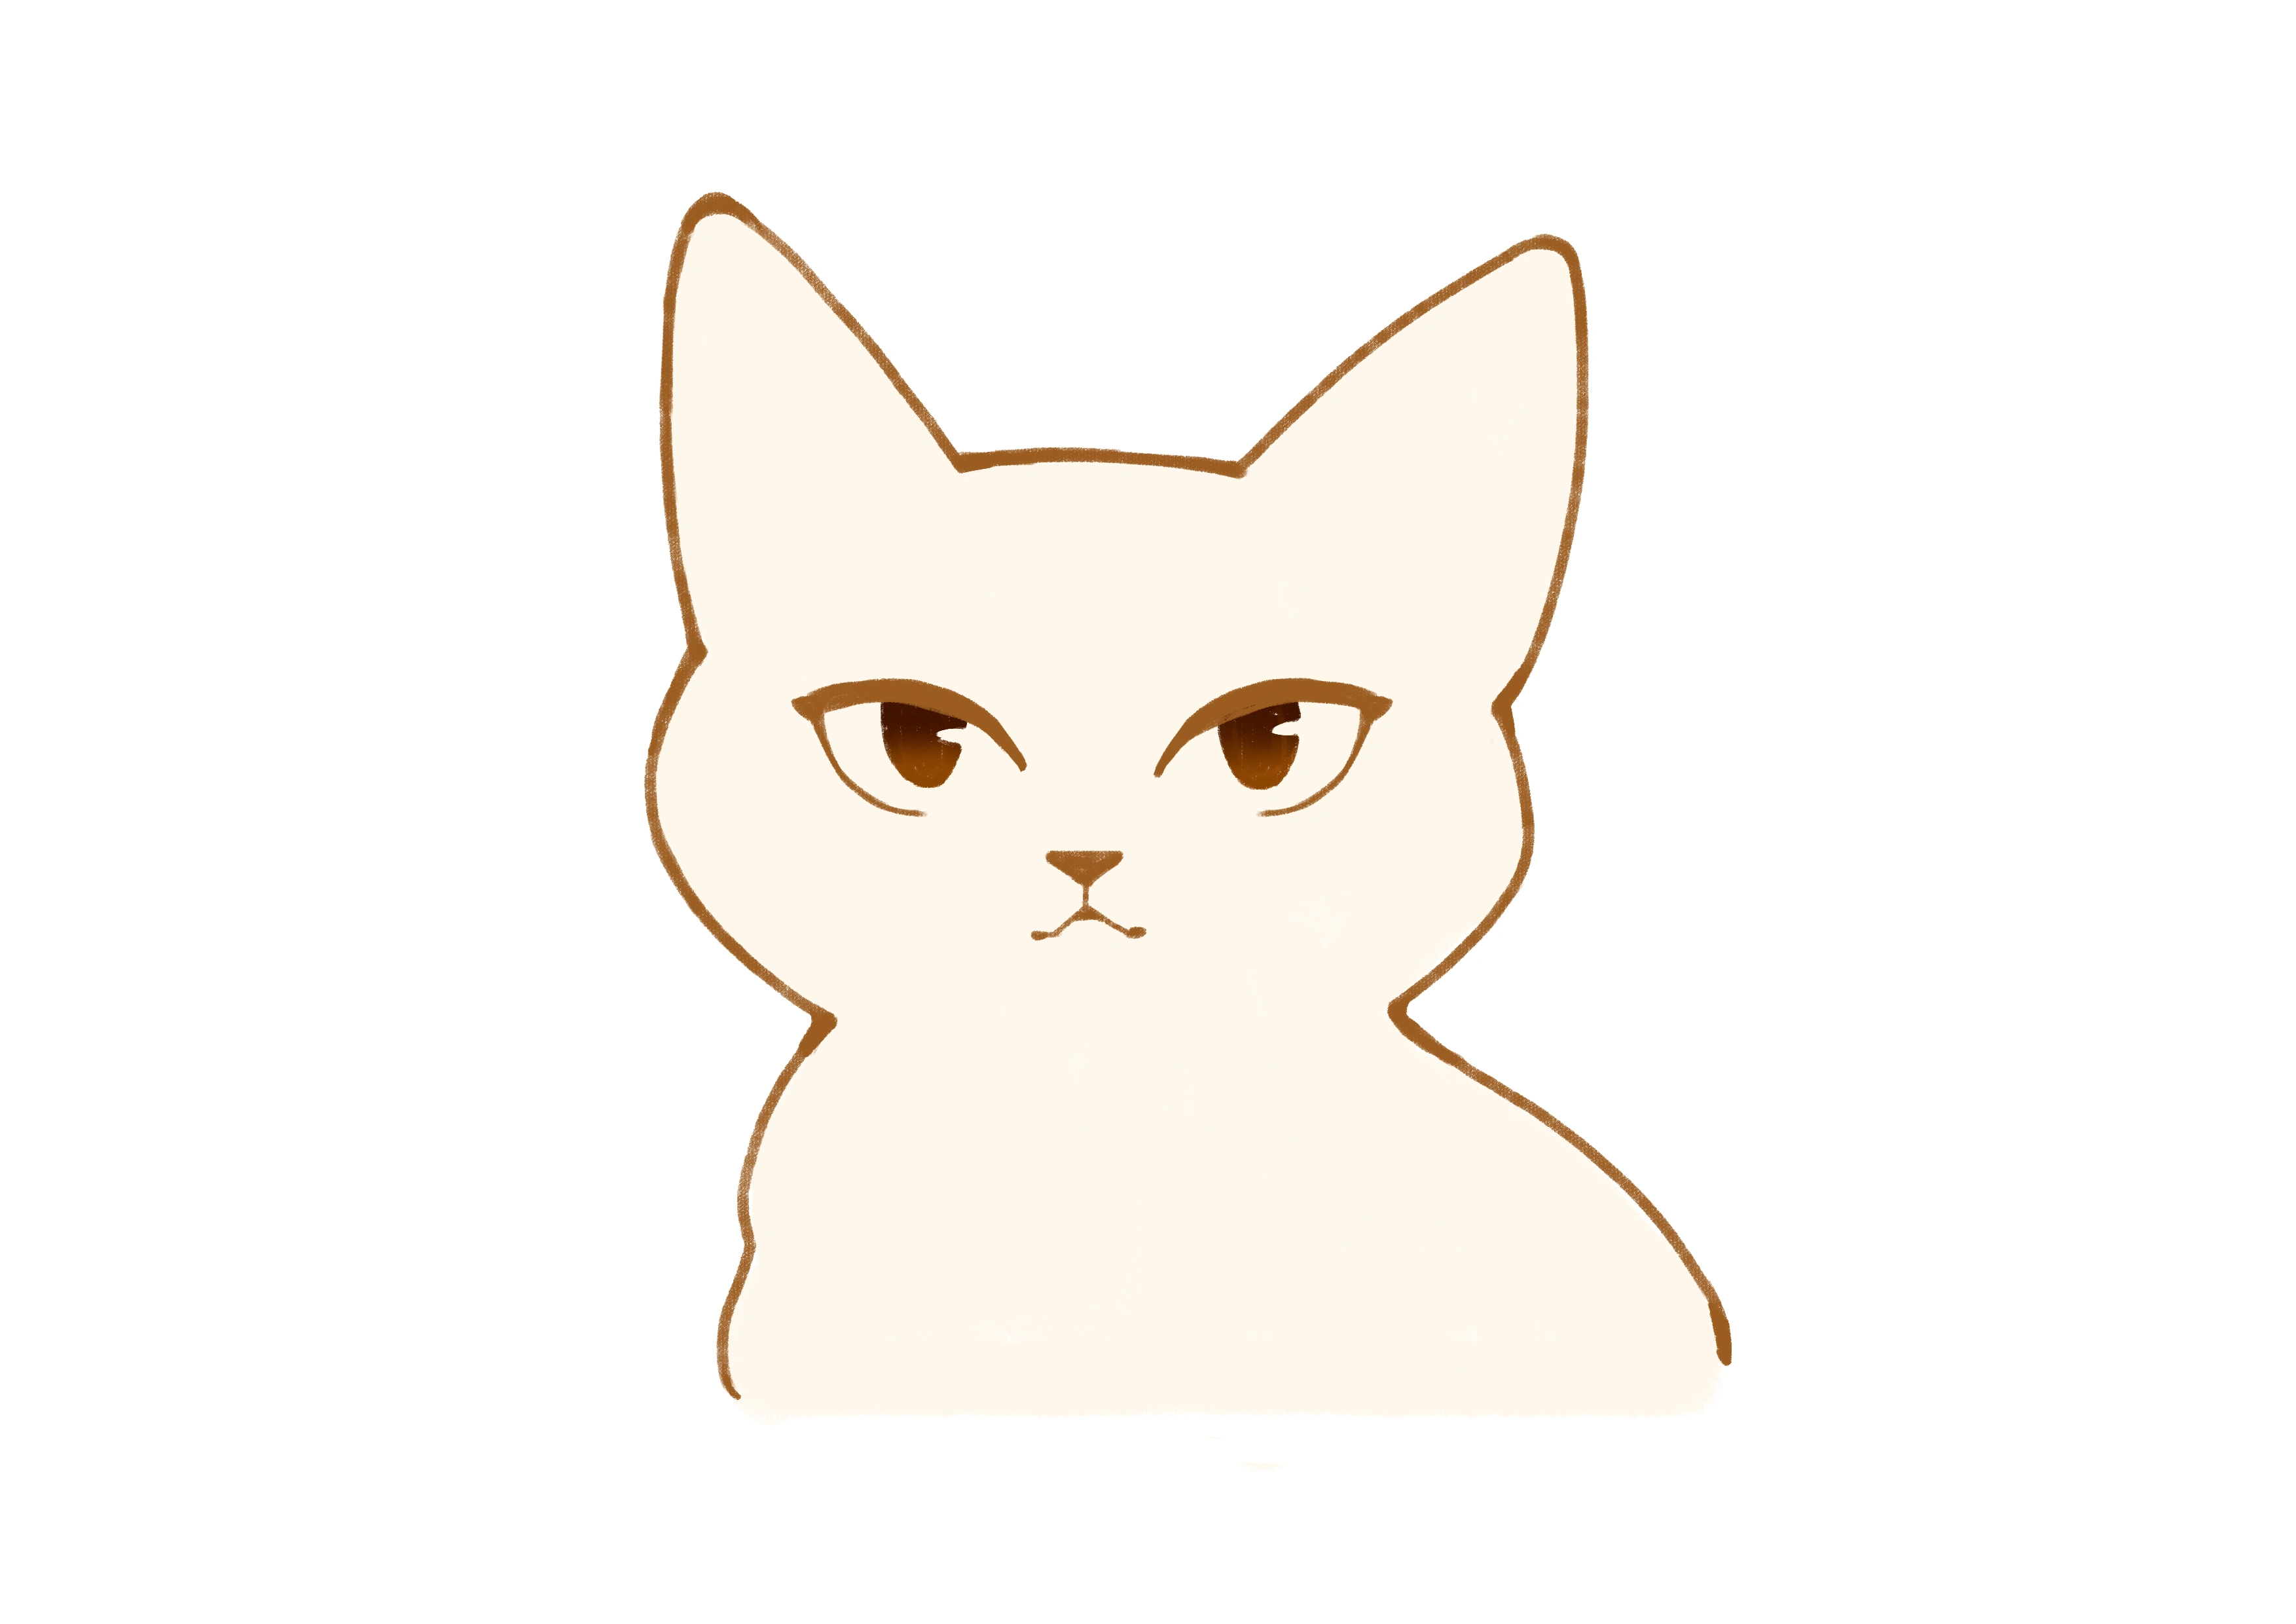
Refining and Shading
The final stage is where your cat drawing really comes together. Proper shading adds depth and dimension, making your cat look more three-dimensional and lifelike.
1. Basic Shading
○ Identify your light source direction
○ Add base shadows under the ears and chin
○ Create subtle shadows around the nose and eyes
○ Build up darker areas gradually
2. Adding Depth
○ Layer your shading to create fur texture
○ Add darker values where fur overlaps
○ Create contrast to make features pop
○ Blend edges where needed
3. Final Touches
○ Strengthen your darkest darks
○ Add highlights in the eyes and on fur
○ Clean up any messy lines
○ Step back and make final adjustments
Pro Tip: When shading digitally with your Xencelabs tablet, use different layers for your shading. This gives you more control and allows you to adjust the opacity of different shadow layers until you get the perfect balance.
Taking your cat drawings digital opens up a world of possibilities, and your Xencelabs tablet is the perfect companion for creating stunning feline portraits.
Making the Most of Your Pen Display 16
The Xencelabs Pen Display 16 is particularly well-suited for cat drawings because of its precise control and natural drawing feel. Set up your workspace by:
● Positioning the display at a comfortable angle using the adjustable stand
● Customizing your Quick Keys for quick access to undo, brush size, and eraser
● Using the dual pen system – the thicker pen for broad strokes and the thinner pen for whisker details
Pressure Sensitivity Magic
One of the biggest advantages of your Xencelabs tablet is its 8,192 levels of pressure sensitivity. Here's how to use it effectively:
● Start with light pressure for initial sketches and fur underlayers
● Press harder for darker areas like pupils and shadows
● Vary your pressure when creating fur strokes to add natural texture
● Use light touches for delicate whiskers and eye highlights
Build A Layer Set to Keep Your Drawing Organized
Don't stick to one single layer – as this can make it hard to go back and update/enhance your cat's face as you go. Keep your cat drawing organized with this digital drawing layer structure:
1. Sketch Layer: Your initial shapes and guidelines
2. Line Art: Clean lines for the main features
3. Base Color/Shade: Primary fur color and basic shading
4. Texture Layers: Multiple layers for fur detail
5. Highlights and Details: Whiskers, eye shine, and final touches
Recommended Digital Brushes
For the best results with your Xencelabs tablet:
● Use a basic round brush with pressure sensitivity for initial sketches
● Try textured brushes for fur effects
● Keep a small, hard-edged brush handy for whiskers
● Experiment with custom brush settings to find your perfect fur texture
How Do You Make Cat Face Drawings Look More Realistic Step by Step?
Start with accurate proportions using basic shapes, then focus on capturing the unique textures of fur using varied strokes and pressure. Pay special attention to the eyes, adding depth with multiple layers of detail and proper light reflections. Using a quality drawing tablet like those from Xencelabs can help achieve more realistic textures through pressure sensitivity.
How Long Should It Take to Draw a Realistic Cat Face for Beginners?
A detailed cat face drawing typically takes 30-60 minutes for beginners. However, don't rush the process – focus on getting each feature right rather than watching the clock. With practice and familiarity with your tools, you'll naturally become faster while maintaining quality.
What's the Best Way to Fix Mistakes When Drawing Cat Faces?
When working digitally with a Xencelabs tablet, use layers to experiment without fear – you can always undo or adjust. For traditional media, start with light strokes and build up gradually. Remember, some "mistakes" can add character and make your drawing unique!
Which Drawing Tablet is Best for Drawing Cats as a Beginner?
The Xencelabs Pen Tablet Medium is an excellent starting point for beginners. It offers professional features like high pressure sensitivity and customizable express keys, while remaining intuitive to use. The included dual pen system gives you versatility for both broad strokes and fine details.
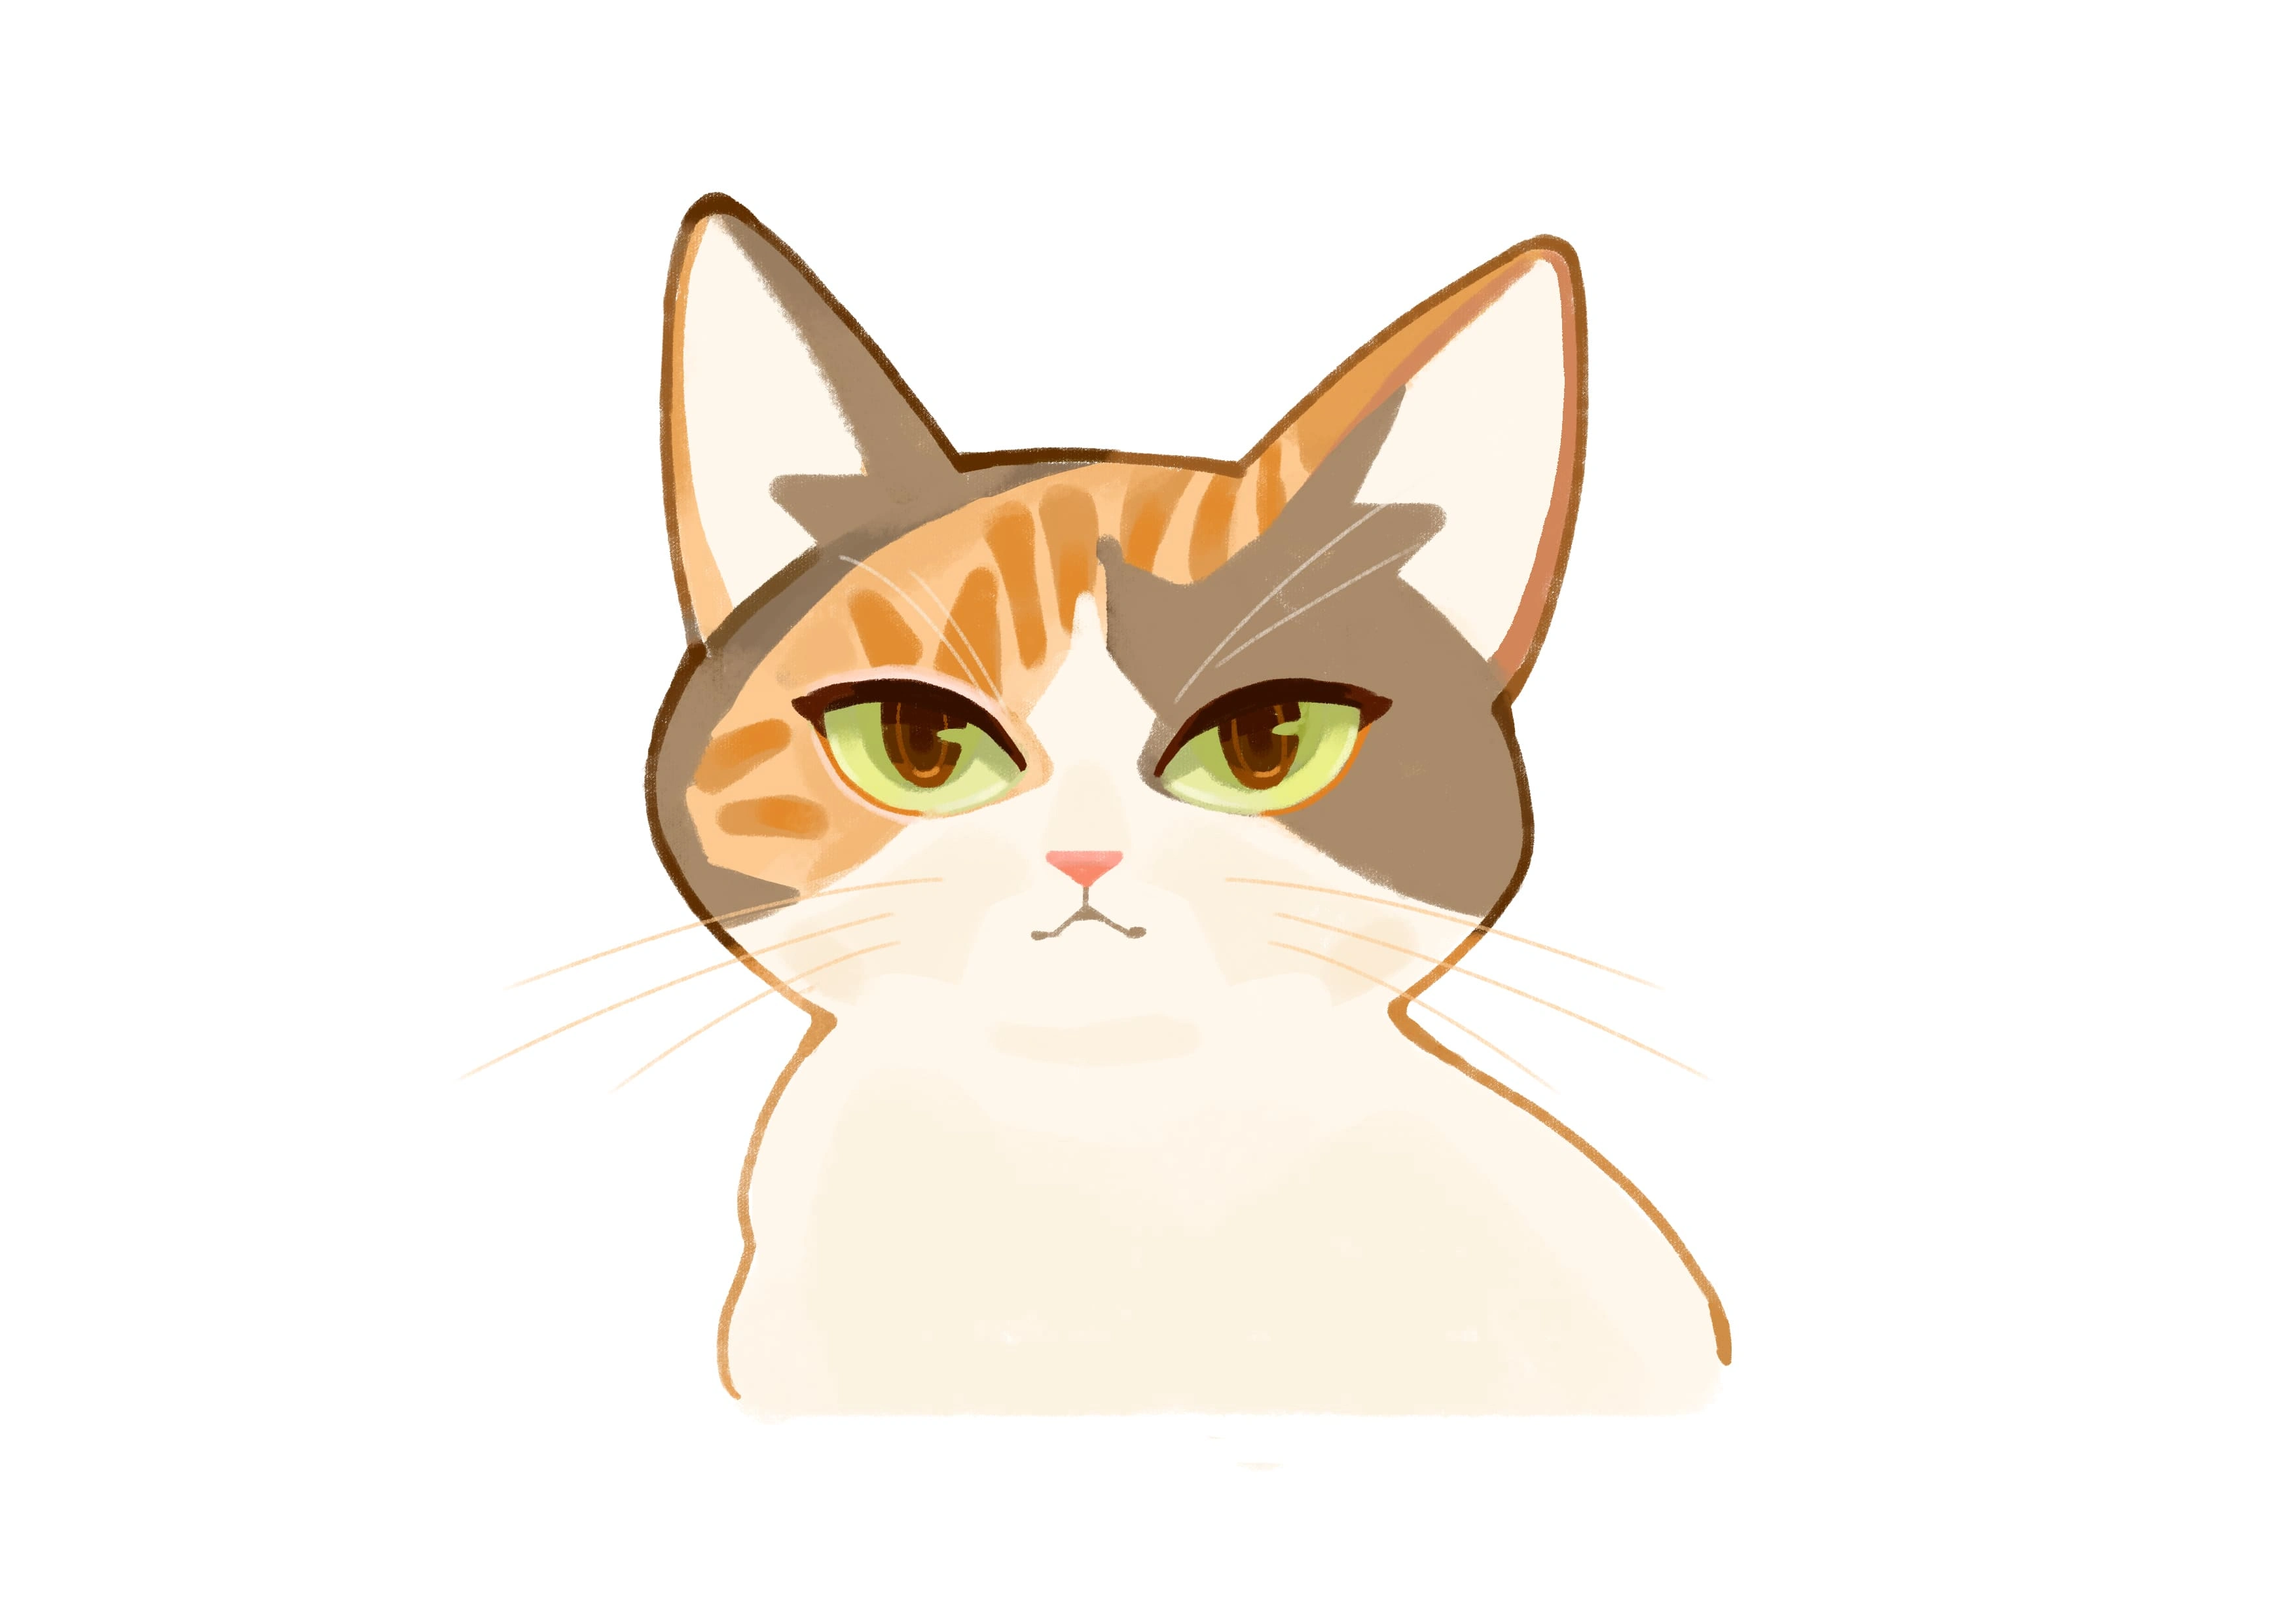
Drawing cats is a journey that combines technical skill with artistic expression. While the basic shapes and steps remain consistent, each cat drawing becomes a unique creation reflecting both the subject's personality and your growing artistic style. Remember that every professional artist started exactly where you are – with determination and practice.
The key to improvement isn't perfection but consistency. Set aside regular time for practice, experiment with different techniques, and don't be afraid to make mistakes. Whether you're working traditionally or embracing the precision and versatility of a Xencelabs drawing tablet, each drawing brings you one step closer to mastering the art of capturing our feline friends.
Ready to start your cat-drawing journey? Visit Xencelabs to explore the tools that can help bring your artistic vision to life. Your perfect cat portrait awaits!
© 2025 Xencelabs Technologies Ltd. All Rights Reserved.